Perfectly symmetrical structures did not just come out of the blue. While the right materials and construction know-how can go a long way, these things aren’t enough for leveling tasks. Yes, traditional spirit levels are generally used for checking whether surfaces are level or plumb. However, using this type of tool is not at all efficient for some construction and surveying tasks.
Think of it this way: you plan to install kitchen cabinets on the wall, and you want them to be mounted in a straight line. The problem with this is that you’ll most likely find it difficult to press a spirit level against the wall with one hand and use the hammer with the other. You’ll probably wish that you can grow out another hand to do the task. You also might think of simply measuring and marking a level reference line across the wall, but doing so will require an enormous amount of time and effort. Plus, you still need to erase the marked line after installing your cabinets.

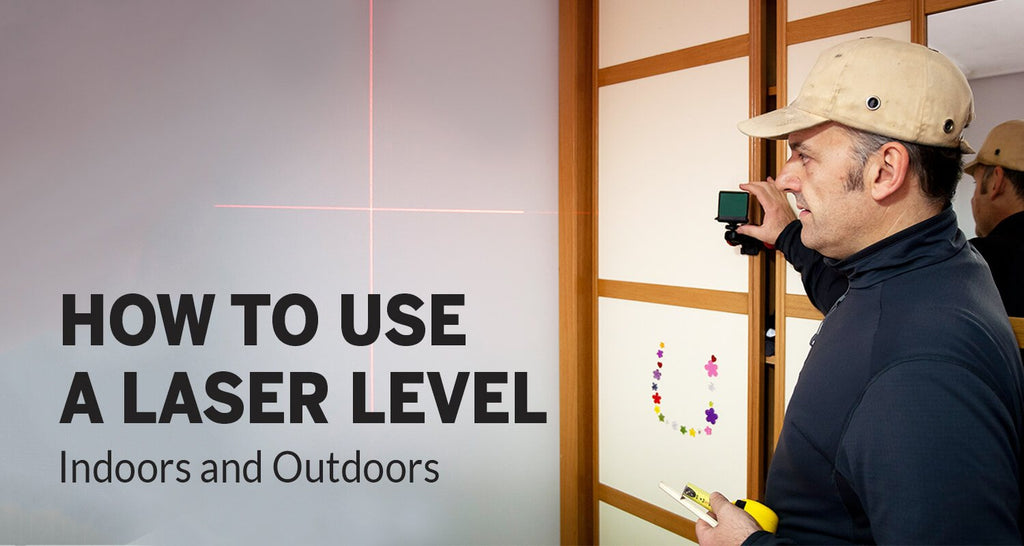
There’s a solution to this kind of problem, and it’s a laser level. In the mentioned situation, you can use both of your hands to install the cabinets while ensuring that they’re perfectly level—as long as you use a laser level. This tool is designed to emit a straight line or plane of light onto a horizontal or vertical surface. Typically, laser levels can be affixed to a tripod or the wall. That means you can have an instant level line without having your hands full, literally and figuratively. In other words, using a laser level can make building tasks and DIY projects easy and convenient. If you’re planning to get a laser level for your job or your home, then read on to learn more about how to use one.
Basics of Laser Levels
Before proceeding to the steps of how to use a laser level, it’s helpful to know all about the basics. This way, you can fully understand how a laser level works and how each of its components functions.
When you encounter a tool containing the word “laser,” it’s normal to assume that it can be hard to operate. On the contrary, using a laser level is pretty straightforward. In fact, several industries make use of this tool. Construction, excavation, surveying, landscaping, and framing are just some of the industries in which laser levels can be found. Since many professionals use laser levels, it’s safe to conclude that this type of tool contributes to the efficiency and accuracy of tasks.

Laser levels come in a wide assortment of designs, but what all of them do have in common are a few components. The first one is the laser. Without this component, a laser level will obviously just be an ordinary level. The word “laser” comes from an acronym for “light amplification by stimulated emission of radiation.” A laser, in a nutshell, projects a beam of green or red light when electrons are energized or stimulated. Then, mirrors are used to collect and amplify this light and point it toward one direction. Instead of spreading out light like that of a flashlight, a laser produces a single, narrow beam. This beam can then serve as a sort of visual chalk line, which can be used as a straight reference line.
Apart from the laser, the other basic components of laser levels are a leveling base and a leveling system. A leveling base can be placed on a flat surface, like a tripod, the floor, or the wall, and it can help emit a beam at your preferred height. A leveling system is typically attached to or built in the laser level, and it can be either manual or automatic. Like spirit levels, a manual laser level requires its user to line up the bubble inside its vial. This type of laser level tends to be less expensive than automatic laser levels. On the other hand, automatic or self-leveling laser levels make use of internal pendulums, magnets, and gravity to find the level. These laser levels are used in tasks wherein the highest level of accuracy is needed.
Setting up a Laser Level
Using a laser level can save you a tremendous amount of time and money. While it requires a proper setup, putting it in place will just take a few minutes.
Before a laser level does its leveling magic, you need to secure it first on a tripod using an adapter. You can also mount it on a flat surface with the use of a compatible mount. Since most laser levels come with universal threaded holes, you won’t have a difficult time shopping for compatible tripods, adapters, and mounts. After setting up your laser level, ensure that it is secured at a position wherein it won’t be knocked or moved.
If you’re using a manual laser level, make sure that the bubble is aligned inside its vial. To adjust the bubble, look for the screws or knobs near the vial. Then, turn these screws or knobs until the vial shows that your tool is level. If you’re using a self-leveling unit, give it time to level itself. Once your laser level is secure and level, you can then turn it on.
After turning the device on, it will produce a level beam onto the surface you’re working on. Depending on the kind of laser level you’re using, the beam can be a dot, a line, a combination of dots and lines, or a 360-degree plane. Moreover, you might have to calibrate it so that the laser points at the exact area where you need the level. Many laser levels, however, offer convenient settings for this kind of fine-tuning.

When working outdoors, you have to use a laser detector to find the beam. Since there’s no surface to catch the beam, a laser detector can intercept it and let you know its exact location. To use a detector, fix it to a leveling rod with the use of a clamp. Some leveling rods or laser rods already come with clamps or slides to secure laser detectors. After securing the detector, slide it up and down the rod until it beeps. When you hear a beeping sound coming from the detector, it means that it has found the beam. After that, fasten the detector in place and make the necessary measurements. It’s important to remember that you have to ensure the device is level throughout the task for the sake of accuracy.
Using Laser Levels Indoors
One of the best advantages of having a laser level in your tool chest is that it can be used for various tasks. Whether you’re involved in a major construction project or a simple DIY project, a laser level will surely come in handy. Another advantage of having a laser level is you can use it indoors and outdoors.
What’s great about using a laser level indoors is that you won’t have a problem finding the beam. Since there’s no sunlight affecting the visibility of beams indoors, you won’t have to use a laser detector to intercept the beam.
If you’re working on a home renovation project or simply beautifying your interiors, using a laser level can help you get the job done efficiently. Here are some indoor tasks in which a laser level can be used.

1. Hanging Frames or Curtains
Unless you want a Leaning Tower of Pisa style of installation, you should ensure that the frames or curtains you’re hanging are perfectly aligned. One does not need to be a perfectionist to be frustrated at crooked frames and curtains. While mounting objects on the wall seems easy, the task is far from simple. To make the job a whole lot easier, you can use any type of laser level. However, most people make use of line laser levels as these are enough to project visible, horizontal beams.
To hang a frame or curtain with a laser level, you have to determine the height of the top of the frame or curtain first. If you plan to install a curtain rod, you might want to measure around 4 inches above the window. After measuring the height, make a mark on the wall anywhere within the measurement.
Second, turn on your laser level. Adjust its laser so that the beam horizontally runs through the height you have marked on the wall.
Third, level your laser. Adjust its bubble if it is a manual laser level, or allow it to self-level if it’s an automatic self-leveling model. After leveling your laser level, secure it on the wall using suction cups or a mount.
If you’re hanging a frame, measure the distance between the top of the frame and its hanging mechanism. Mark this measurement on the wall using the projected beam as a reference line for the top of the frame. Then, drive a nail into the mark on the wall. Lastly, hang the frame and align its top with the laser beam.
If you’re hanging a curtain rod, the process will be simpler than hanging a frame. You only have to measure the width of the curtain rod. Finally, install the brackets at the ends of the width and along the projected beam.
2. Installing Cabinets

For cabinet installation, a cross-line laser level can make the task quick and easy. This laser level can project a vertical line and a horizontal line at the same time. Because of this, you can use it for both transferring stud locations and aligning cabinets. Before using a laser level for cabinet installation, secure the laser level on a tripod a few inches away from the wall on which your cabinets will be placed.
Anyone who has ever installed kitchen cabinets understands how marking stud locations can be time-consuming. With a cross-line laser level, however, you can finish the task in no time. First, locate the studs using a stud finder. Then, mark their centers. After that, turn on your laser level and align its vertical beam so that it runs through the stud mark.
Next, measure the height of your kitchen cabinet, from top to bottom. Then, mark that measurement on the wall. Align the horizontal beam of your laser level across the marked bottom part of the kitchen cabinet. After that, mount a ledger or support rail below that bottom line and screw it into the stud marks.
Finally, align the horizontal beam of your laser so that it runs through the marked top of the kitchen cabinet. Place your cabinet on the ledger and align its top with the horizontal beam. You can then screw your cabinet into the stud.
Using Laser Levels Outdoors
In construction and surveying, laser levels are often used outdoors. While working under broad daylight can affect the visibility of beams, many laser levels are designed for outdoor use. Those who level outdoors usually make use of laser levels that produce green beams. The reason behind this is that the colors in the green spectrum are more recognizable to the human eye. In fact, a green laser beam is four times more visible than a red beam. Green laser levels can thus work over longer ranges, even under brightly lit settings. Moreover, laser detectors can easily intercept the green beams that these laser levels produce.

Aside from the color of the beam, the type of laser level should also be considered when working outdoors. Rotary laser levels are ideal for outdoor use as they can project 360-degree planes horizontally, vertically, or both.
If you’re planning to use a laser level outdoors, here are some outdoor tasks in which a laser level can be used as well as a few tips on how to use it.

1. Leveling the Ground
One of the common outdoor tasks that call for the use of laser levels is leveling the ground. This task can be for laying foundations and excavating. No matter what the reason for leveling the ground is, it’s important to find a location where you can set up your tripod and laser level. These two should be near the construction site but out of harm’s way.
After setting up the tripod and securing the laser level, turn on your device. Then, level it if it’s a manual laser, or allow it to self-level if it’s an automatic unit.
Next, determine your preferred height on the ground. Place your grade rod or laser rod, along with the laser detector, toward the point of your preferred height.
Then, slide the laser detector up and down the rod until it produces a beeping sound. The beeping sound means that it has found the level. Once the laser detector beeps, secure it to the rod.
After that, find another point on the ground where the height intercepts or catches the laser. Then, put a pile of soil up to this height or mark the height with paint or other marking tools. You can repeat the steps until you have the needed amount of reference points.
2. Grading

Laser levels come in different designs for various applications, and there’s a specific laser level made for grading tasks. Similar to the task of leveling the ground, grading with a grade laser level requires finding a place to set up your tripod. You should secure your laser level on the tripod that is set up on firm, stable ground.
After setting up your tools, turn on your laser level and level it. Then, establish the initial height of your grade. From this height, the pitch of the grade slopes down.
Next, place the grade rod, along with the laser detector, at your preferred height of the grade. Slide the laser detector up and down until it beeps, and tighten it to the rod.
Then, establish the desired pitch measurement from the top of your grade to the bottom. Using that measurement, move the laser up the rod and secure it.
Find the level with the laser detector where the bottom of the grade will be located. To get the original reading, you might need to lift the rod or dig into the ground.
The bottom of your grade rod serves as the bottom of the grade. With the use of marking tools, you can finally mark the height and grade.
Choosing the Right Laser Level for the Task
When the project calls for leveling or plumbing, there’s no question that a laser level is the perfect tool for the job. Its accurate leveling system, its wide range of settings, and the convenience of laser reference lines are some of the many features that make a laser level stand out among all other tools. Before buying one, you have to consider some important factors.
One of the factors in choosing a laser level is its performance. Some of the features that indicate the performance of laser levels are working range, wavelength, and leveling accuracy. While these things might be confusing for some, the one thing that any user must remember is that there is strength in numbers. The higher the figures of these features are, the better the laser level is.

It’s also worth considering where the laser level will be mostly used. If it will be used solely indoors, a manual laser level emitting red beams will be adequate. On the other hand, if you plan to use it outdoors, it’s worth investing in a self-leveling laser level that projects a green beam. Self-leveling laser levels can work on uneven terrain, and they can level themselves even if they get accidentally tilted.
Wherever you plan to use a laser level, you must ensure that it can withstand harsh conditions. Like any tool, if a laser level is durable, then it must be long-lasting, top-quality, and worth the investment.
There are various brands and designs of laser levels out there, so it can get overwhelming to choose the right one. Moreover, finding a durable, high-performing laser level can be difficult. That’s why Engineer Warehouse narrowed down the choices of the best laser levels and accessories in the market. We have carefully identified the best brands of these products and collected them for those who need to accomplish leveling tasks accurately and efficiently. Most of the laser levels that we offer even have high ingress protection (IP) ratings. You can take peace of mind knowing that these products can endure the toughest field conditions, all while performing accurately.