


If you’re not planning to go on a trip or just laze around the house and recharge, long weekends are a good time for different home improvement projects. You’ll be able to devote more time to the tasks at hand, and by the time the next work day rolls around, you’ll have a sense of accomplishment that can carry you through the work week.
Usually, these kinds of projects are good for the spring, but autumn is underrated as a season for remodels, renovations, and small projects. After all, the weather is crisp but not too cold, great for working without breaking too much of a sweat. Regardless of what season it is, however, these projects shouldn’t take more than a couple of days to finish.
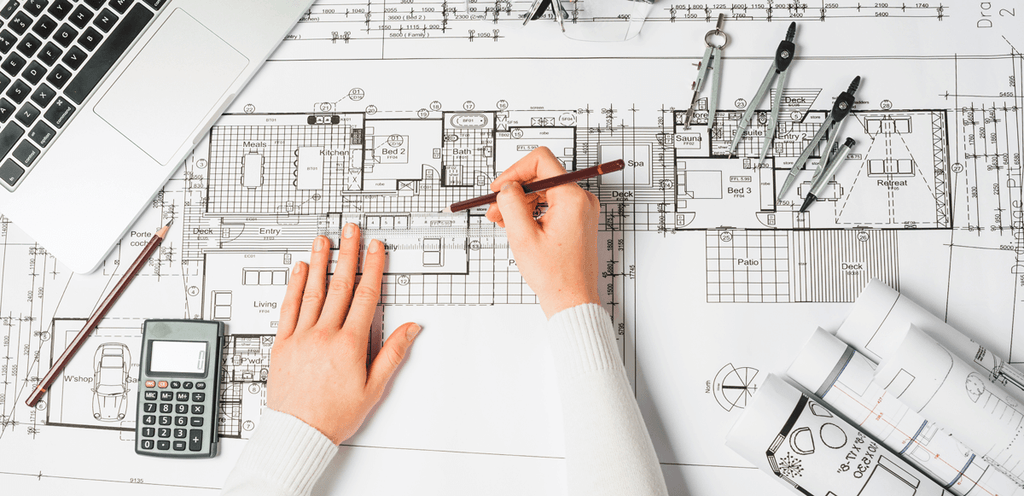
Sketching Home Improvement Projects
Television would have us believe that renovating a home is easier and less complicated than it actually is. The reality, of course, is that there are layers and layers of preparation that go into a good renovation project.
As long as we’re on the subject -- a big renovation project itself definitely won’t take just a weekend. However, the early planning stages such as making sketches and drawings can take a couple of days.
1. Taking Measurements
Your sketches don’t have to be perfect, but they certainly should be somewhat to scale. It would certainly be much easier for you to make sketches and drawings if you have a good idea of the dimensions of the room or area you’re going to be renovating or remodeling. A 25-foot tape measure will likely be sufficient for taking measurements.
However, you can also try out some augmented reality apps that can do the measuring for you. Google has Measure, a free app for Android devices. It works much like a measuring tape; all you need to do is launch the app and permit it to use your phone’s camera, pick two spots on a surface, and the app will calculate the distance between the two spots.
Of course, iOS has a similar app with the same name. It comes with iOS 12, and like its Android equivalent, it works much like a virtual tape measure.
2. Basic Sketching
When you have the measurements and estimates you need, you can get to work on sketching the changes you want. For example, you might want to build a new wall to turn one room into two. Conversely, you might want to knock a wall down for a bigger and more open space. Sketching what you want to accomplish will allow you to better visualize the end result.

You can do preliminary sketches by hand with the help of drafting tools. These tools can help you draw straight lines with better angles. You can also use drafting scales so the scale of your sketches can be more accurate. You’ll also be able to draw a rough sketch of the floor plan you want as well as the arrangement of furniture in the room.
Of course, aside from making drawings by hand, you can also use various software for various drafting tasks. Some apps are free, while some come at a price but also come with a lot of great features. However, if you don’t have to do much and simply need a scale drawing, there are several free apps and programs that offer enough features and capabilities.
Leveling Floors
There are several reasons why your floor might slant, slope, or is sagging somewhere in the middle. It’s possible that the problem lies in the foundation itself, though it’s also possible that the joists were not installed correctly. The solution to this usually depends on the root of the problem.
1. Slant vs Sag, Level vs Plane
If your floors are slanted, that means that the floor on one side of the room is lower on the horizontal plane. You can test if this is the case using the age-old marble method. Drop a handful of marbles in one side of the room, and if they roll all the way to the other side of the room, then the floor is likely slanted.
However, floors can also sag in the middle. This means that technically, the edges of the floor are technically all level. However, if the middle of the floor is sagging, then the floor is not flat and not on the same plane.
If you want to put in new flooring, especially something like ceramic tile, laminate planks, and the like, the floor has to be level and flat. An out-of-level and/or out-of-plane floor can affect or damage the installed flooring.
2. Problems and Solutions
Before you do anything to fix the issue, the first thing you should do is to identify the underlying cause. The problem might lie in joists that weren’t installed properly, but it can also be an issue with the foundation itself. If you’re not sure what the root of the problem is, hire a professional like a structural engineer to identify it for you and to help you figure out the next steps.
Depending on the prognosis, you might not be able to level your floors yourself and you might have to hire a professional to do it. However, if you have enough know-how and the problem isn’t too bad, you might be able to devote a weekend to leveling your floors yourself.

Typically, you’ll need to use a floor leveling compound, which can come as a dry product that needs to be mixed with water to form a slurry. It’s important to keep the slurry smooth and mixed well, so you’ll probably want to use a mixer like the Collomix LevMix65. This mixer is especially designed for mixing floor leveling compounds, and it already comes with a bucket that can make both mixing and pouring easier.
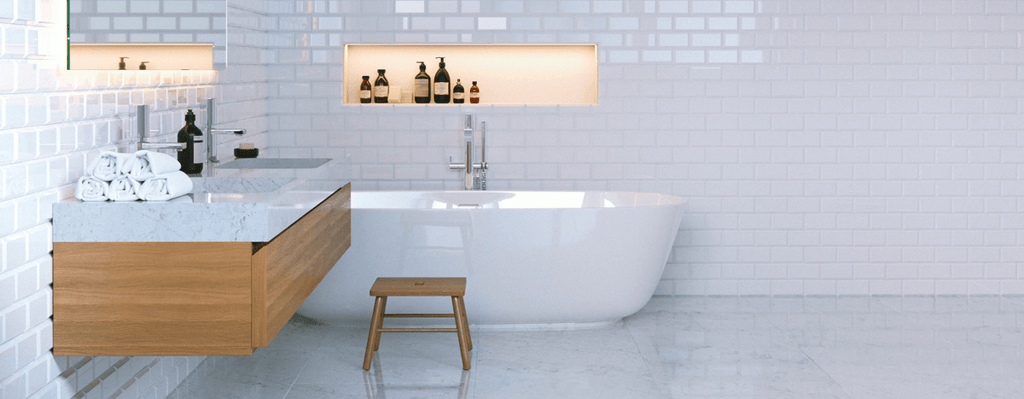
Retiling Small Bathroom Floors
Have you ever just woken up one morning, gone to the bathroom, and decided that the floor tiles are horrendous? Maybe you’ve been wanting to spruce up your bathroom for a while, and you already have your eye on some new tile designs. Luckily, you can replace those old tiles and lay down new ones in just one weekend.
1. Preparation Stages
While the thought of an all-new and shiny bathroom floor may certainly be exciting, getting things ready to install it can be quite tedious. One of the first things you have to do is remove the old tile, which can prove to be a tiresome process. However, it’s relatively simple, and you can just use a knife to cut into the caulk and grout.
Be sure to avoid damaging the drywall, which you’ll want to be clean and smooth before installing new tile. Make sure to clear away any remaining adhesive from the old tile, and you also need to first repair any accidental damage to the drywall before proceeding.
You can then lay down your tile to which pattern works best, and how many tiles you need for every row. You’ll then be able to calculate how many tiles you need in order to completely cover the entire bathroom floor. Make sure that each line of tile is level.
2. Installing New Tile
You can use a laser level to ensure that your tiles are in level lines. However, make sure to do this before you even start mixing the tile adhesive you’ll be using to install the tiles. That way, you won’t have to rush or struggle to juggle the timing of each of these steps.

Your tile adhesive should also be mixed well so the mixture will be smooth and effective. For reference, it should have the consistency and smoothness of peanut butter. In order to reach this consistency easily, you can use a mixer like the Collomix AOX-S. This mixer comes with its own mixing tub, along with a rim scraper that prevents mixtures from sticking to the sides and rim of the tub.
An important thing to remember about mixtures like tile adhesives is that you shouldn’t mix more than you think you’ll use in the span of 30 minutes.
Once the adhesive is ready, you can start putting some on each individual tile. Make sure that the thickness of the adhesive is the same as the thickness of the tile it’s on. You can use spacers in between tiles, and you can also use a damp washcloth or sponge to wipe away any excess adhesive.
Allow the adhesive to dry and cure for about 24 hours. Once it’s completely set, you’ll be able to install the grout. The grout also needs 24 hours to set before the bathroom can be ready for use.
Repainting
A fresh coat of paint can brighten up any space or make the exterior of your house look as good as new. Repainting can be finished relatively quickly, as long as you plan well. Additionally, there is a plethora of things that you can repaint, and the most difficult part might be having to pick just one or two things to work on.

1. What to Repaint
A repainting project can depend on which part of your home you want to improve. Maybe you’re looking to improve your home’s curb appeal; in this case, you might want to repaint an exterior feature. You can repaint exterior walls, but depending on the weather and the size of your house, this might take some time. You can also choose a bright new color for your front door to make it more striking, and you can also repaint the garage door to complete the effect.
Other exterior features that can benefit from some repainting are porches, decks, shutters, gutters, or any wrought iron parts.
Interior spaces and features can also benefit from repainting. Maybe the walls of your bedroom look too drab and boring, or maybe you want them to have a more muted, calming color. A fresh coat of paint can do wonders and really spruce up the exterior of your home.
Of course, you can also tackle smaller painting projects. For example, if you want a less drastic change, you can repaint cabinet doors. If you’re looking to redecorate, you can paint the inside of bookshelves. You can look through Pinterest or interior design magazines to get a good idea of which colors look good.
2. The Process of Repainting
Before you even pop the lid off a paint can, make sure that you’ve cleaned the surfaces you’ll be painting. If you want a better-looking finish, you can remove any hardware like knobs or any attachments that you don’t want to get paint on. You can also use painter’s tape instead, but the finish won’t be as clean or neat.
Once the relevant surfaces are clean, grease-free, and dust-free, you can start applying primer. If you’re applying the first coat of paint on an unpainted surface, you’ll need primer so the material (wood, cement, etc.) won’t absorb too much of the paint. Without a primer, you might need multiple coats of paint. However, if you’re just repainting an already-painted surface and the new color is close to the old color, primer isn’t necessary.

You also need to make sure that you’ve mixed your paint properly. This way, you’ll end up with a solid, consistent color. The Collomix XO10NC is a flexible mixing tool that you can fit a paint-mixing paddle onto. Furthermore, the XO10NC is cordless, which means you can use it anywhere, outdoors or indoors, as long as it has a fresh battery.
Use a paint roller to evenly apply paint onto the surface. To paint accents, trim, edges, and details, it’s best to use a paint brush. Once the last coat of paint is done but still wet, lightly brush over it to make it look hand-painted.
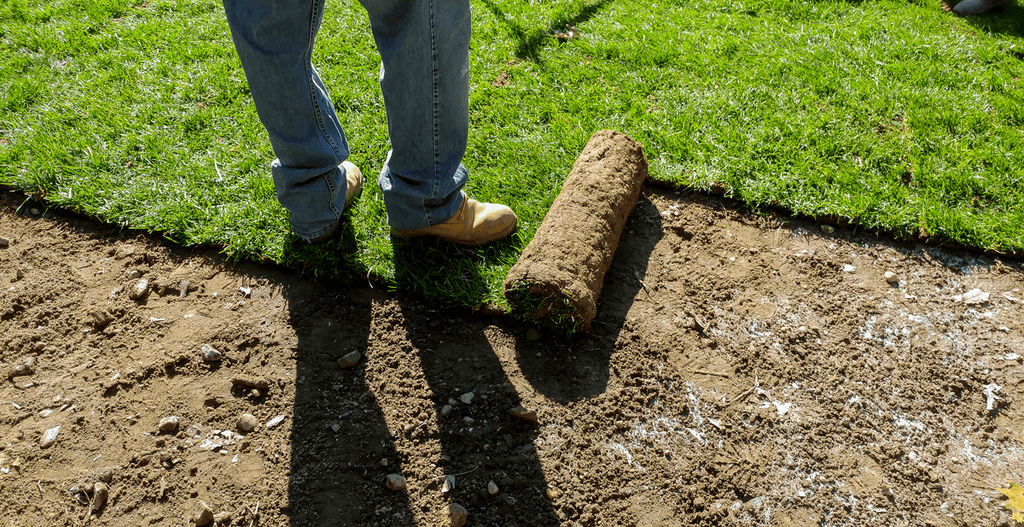
Laying Sod
Perhaps the easiest way to describe sod is that it’s the non-artificial equivalent of artificial turf. Sod is basically sheets of soil with actual grass, and when it’s laid down properly, it can give you a nice “instant” grassy lawn. However, it’s important to note outright that laying sod isn’t as simple as it may seem. You can do it yourself if you have some training or experience in how to install sod; otherwise, it’s best to leave this job to the professionals.
1. Preparing the Area

One of the first things you need to do if you’re planning on laying sod is taking measurements. If you’ll be working on a rectangular area, using a measuring wheel can work wonders. The lightweight Calculated Industries 6540 measuring wheel is great for landscaping jobs, and it can give you accurate measurements. Once you have these measurements, you can calculate how much sod you’ll need.
Make sure that the area is free of debris and any building materials. All that should be left are objects smaller than 2 to 3 centimeters across. Check if there are any drainage problems, and if there are, they should be eliminated before laying sod.
Put in good topsoil, and till it to a 2-inch depth. Take note that soils with a pH of 6.5 are best for turfgrass, and you can get your soil tested to see how acidic it is. Apply fertilizer if you’re using it, and make sure to settle the soil if it’s still somewhat fluffy.
2. A New Lawn
Once your sod has been delivered, don’t let it sit around. Install it right away. Find a straight edge beforehand, like a wall or sidewalk, and use it as a reference. If there aren’t any such structures, you can run a string across the area and stretch it out tight. This can serve as your straight reference line.
The sheets of sod should be arranged to look like brickwork. All the edges should be laid tightly against each other, but make sure that no edges overlap even slightly. Don’t push the sod too tightly together, however, since the edges might end up not fusing to the ground. However, if the sod pieces are too far apart, it leaves space for weeds to grow. This is why laying sod needs to be done by trained or experienced individuals.
Meanwhile, if you have to work around curves, roots, and the like, you can use a knife to cut the sod to the desired shape. This step is necessary to make sure that all edges will stick to the ground, and the piece will be laid down securely and properly.


