Dreams of living in mansions and castles are slowly drifting away into nonexistence. In this day and age, buying a house is something that not too many people can achieve. With mortgage rates and house prices continually skyrocketing, today’s generation has one simple wish: a comfortable space to live in. While apartment buildings and condominiums are the primary housing solutions for many people, there’s an architectural movement that has been gradually coming to light, which is the tiny house movement.
A number of reality TV shows and online videos have been covering the tiny house movement for a few years now. This movement encourages people to live in a simpler, smaller space. It also focuses on the fact that a wide space isn’t at all necessary for people to live comfortably. In spite of its financial and environmental benefits, there are a few minor challenges with such a lifestyle, one of which is storage space. That’s why the key focus of tiny home living is making the most of the limited space. As a result, almost all tiny house owners focus on storage solutions when building their small dream homes.
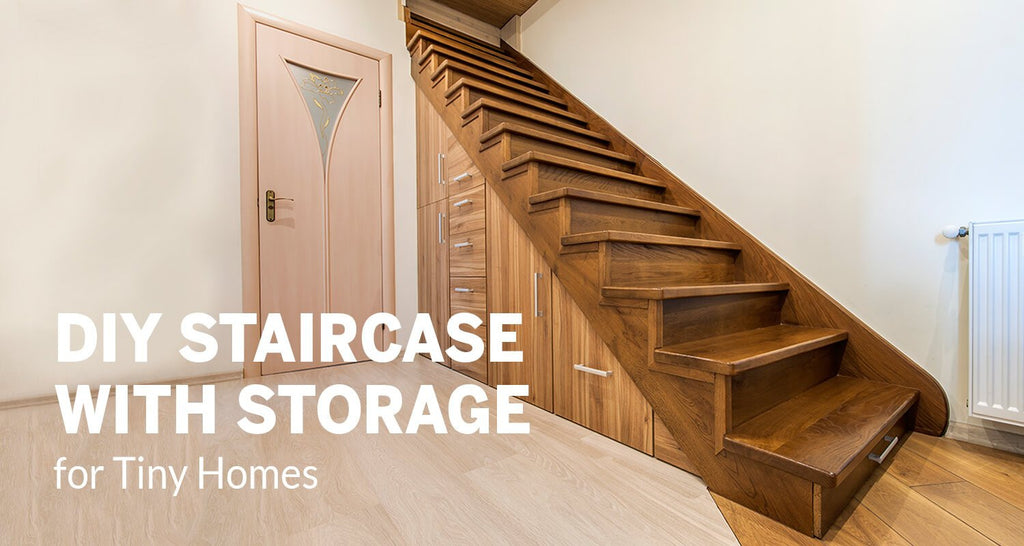
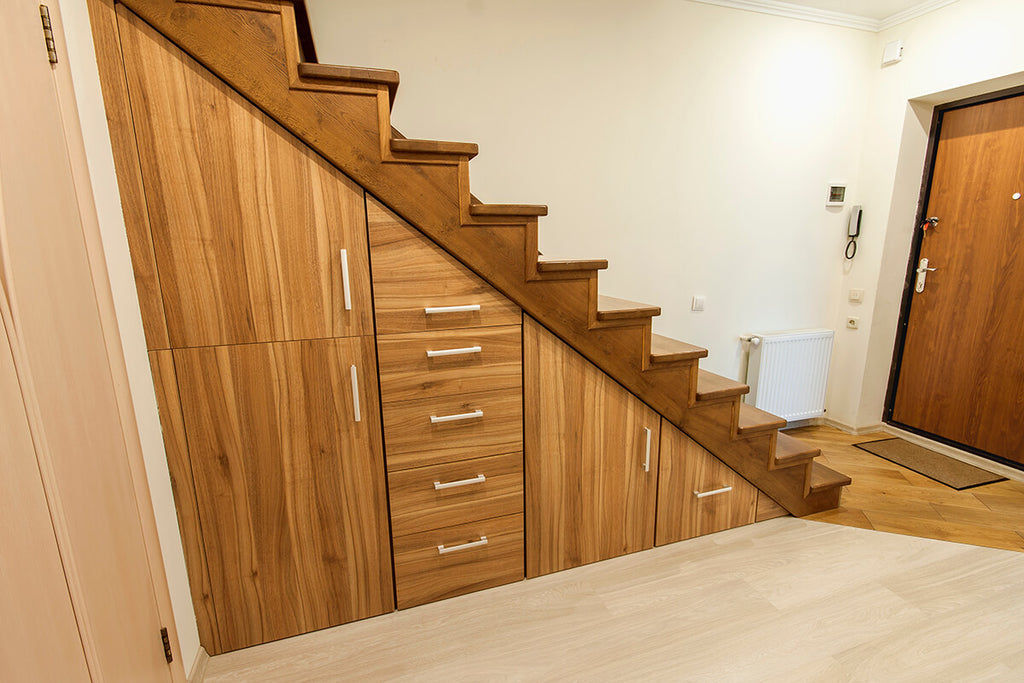
One of the most common and most clever storage solutions found in tiny houses is a staircase with storage. A lot of tiny home builders saw the potential of wasted space under most staircases, took this advantage, and incorporated it into the layouts of their staircases. With a staircase with storage, homeowners can store and organize various household items while keeping them out of sight. Not only are they ideal for tiny houses, but they are also perfect for any type of home with a small space.
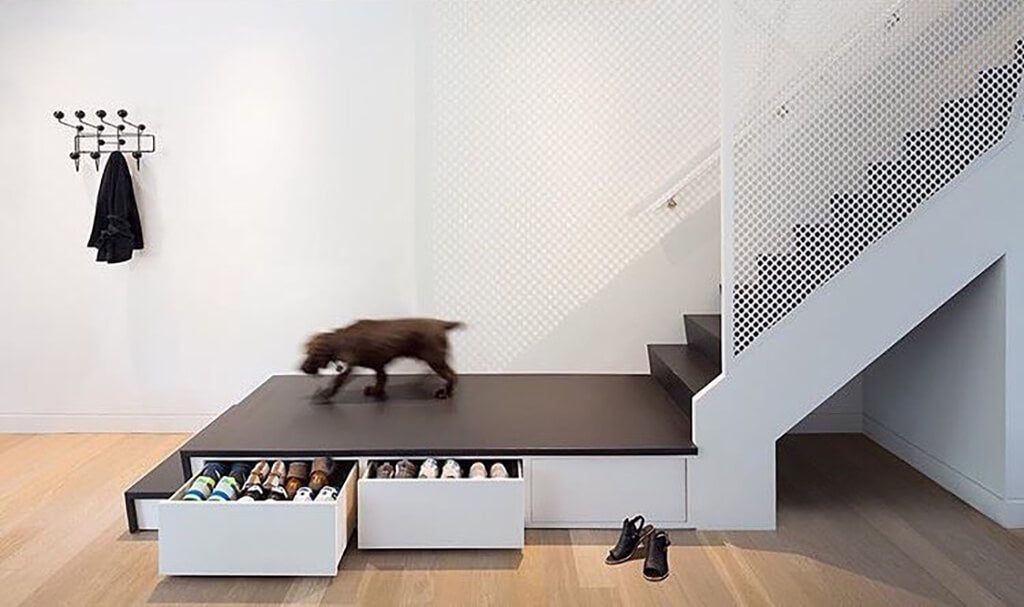
What’s great about building a staircase with storage is that it’s a pretty effective space-saving solution. Drawers and cabinets can seamlessly blend in the design of a staircase. Moreover, making your own staircase with storage allows limitless configurations to suit your taste as well as the available space.
Doing this staircase storage project might seem overwhelming, especially if you have little to no experience with construction. On the contrary, any DIY enthusiast can complete this project. All you need are tools, materials, and space for your staircase project.
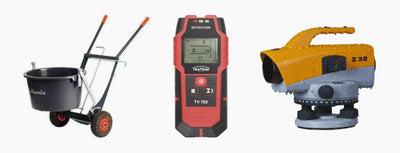
Prepare the Needed Tools and Materials
A pair of hands and sheer will alone won’t make a staircase with storage magically appear. As with all building projects, you need to have the right tools and materials. Building a staircase with storage does not require too many tools. However, if you plan to have a more complex staircase storage design with additional compartments, you might need a longer list of tools and materials than the list below:
- Tape measure
- Spirit level
- Angle finder
- Circular saw
- Straightedge
- Clamps
- Drill
- Sandpaper
- Screwdriver
- Steel square
The materials you will need to make your staircase storage project depends on the size of your staircase and the type of storage you want or need. To build a staircase with drawers and a cabinet, here are the basic materials that you should have:
- Drawer slides
- Hinges
- Pulls or handles
- Stainless steel strips
- 3/4" plywood
- Steel angles
- Plastic angles
- Screws
- Construction adhesive
Plan Your Staircase with Storage

Before you start working on your staircase storage project, you have to measure the area with the use of a tape measure or a measuring stick. This way, you can properly plan the dimensions of your staircase. First, measure the total rise or the height from the ground floor to the loft of your house. Second, measure the total run or the space that the width of your staircase can take up. After that, mark the measurement of your staircase’s run on the floor. Measure everything that needs to be measured, and double-check if your measurements are correct.
Before you start drawing up the layout of your staircase, you have to make some calculations. You’re probably not expecting to do some math in this project, save for a few measurements here and there. However, when it comes to building a staircase, performing some mathematical calculations is a non-negotiable step. By doing so, you can determine the dimensions of your staircase and the number of its steps.
These calculations will include the rise and run that you measured earlier. They will also involve the tread depth of every step and the riser height of every step. First, divide the run by your preferred tread depth. Let’s say you want your tread to be 10 inches deep. Divide the run by 10 inches, and if the result is not a whole number, round it up. The result will serve as the number of steps that your staircase will have. Next, divide the run by the number of steps. The result from this calculation will be the exact tread depth for each step.
For the risers, instead of using the total run as the dividend, use the measurement of the rise. Divide the rise by the number of steps. The result will serve as the height of your riser. However, if you are not comfortable with the resulting riser height, you can tweak your calculations to suit your preferred riser height.

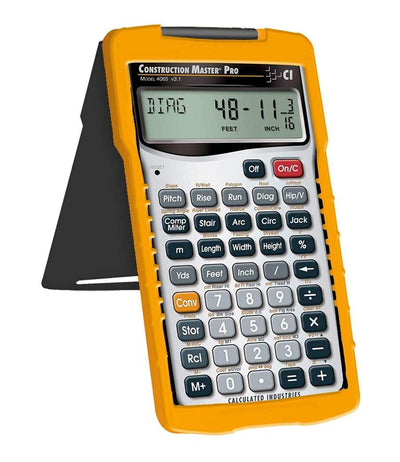
It’s also worth noting that the recommended maximum height of a standard riser is 8 inches, while the minimum depth of a standard tread is 10 inches. Furthermore, every step should have the same riser height for safety purposes. If your steps have different riser heights, people will likely trip or lose their balance while climbing the stairs. For the sake of ease and accuracy, use calculators that are specially designed for construction. Construction calculators can solve any math problem related to stairs, such as the rise, run, pitch, tread depth, and riser height.
After making the necessary measurements and calculations, you can draw up the layout of your staircase. Some people prefer using software programs to make models of their staircase with storage, but using a pen and paper will do. In your design, draw a scale model of your staircase. Then, you can design your cabinet and drawers and figure out how many drawers you can fit under your staircase. Usually, the space under the highest riser can be used as a cabinet for hanging your clothes. Meanwhile, the spaces under the rest of the risers can fit several drawers.
Build Your Staircase with Storage

Now, it’s time to bring your plan into reality. The first step is building your staircase profile. With a circular saw and straightedge, cut the plywood into pieces for your risers and treads. For the risers, use the riser height and run as references. For the treads, on the other hand, use the tread depth and run as references. Then, place the edges of each rise and tread on a steel square to make them square or to form a right-angled joint. Next, with the use of construction adhesive, glue the edges of each riser and tread together to make the step of your staircase. Using an angle finder, check if every step of your staircase is perfectly square. Also, check if every step is level and plumb using a spirit level. After checking everything, screw every tread and riser together.
The second step involves joining every step of your staircase together. With the use of a steel square and a clamp, glue two steps together and allow the construction adhesive to dry. Then, like the first step, check if everything’s level and square using a spirit level and an angle finder, respectively.
The third step is installing the staircase frame on the wall. First, mark the profile of your staircase on the wall. Then, drill pilot holes along the marked treads and screw the steel angles along these pilot holes. Next, screw your staircase frame into these steel angles. These steel angles will support your staircase while you’re building the supporting structure.
Fourth, build the vertical supporting structure out of the plywood. This structure will support your staircase and divide the space under it into spaces for your drawers and cabinet. It will also serve as the mounting surface for your drawer slides and cabinet door. Measure the height from the floor to the underside of each joint of the tread and riser. Then, cut the plywood according to these heights and the run of your staircase. The cut pieces of plywood will serve as the vertical supports of your staircase. Finally, glue and screw the end of each vertical support to the back of each riser.
Fifth, install the drawer slides in place. You have to remember that every pair of these slides should be perfectly level and parallel to each other. If not, you might have a hard time pulling open your drawers. For the first pair of slides, attach the first slide into the first vertical support with the use of a clamp. Do the same with the next slide and attach it to the next vertical support. Check if the slides are level using a spirit level and if the two slides are parallel to each other. After that, screw them in place. Repeat the process for the other drawer slides. Don’t install the drawer slides on the last two vertical supports as the space between these supports will serve as your cabinet space.

The sixth step involves building your drawers. First, mark the measurements of the sides and bottom of your drawers on a piece of plywood. The sizes of your drawers should fit in the space between the vertical supports under your staircase. Next, cut along these measurements using a circular saw. Then, clamp the four sides and bottom of each drawer. Check if they’re level and if their angles match the angles of your stairs. After that, screw them together. Next, sand all of the edges of the drawers. If you need to apply paint and varnish on the face frames of the drawers, do so before attaching the slides. After the paint dries, screw the drawer slides on either side of each drawer. These slides should be perfectly parallel with the slides that are already attached to the vertical supports under the staircase. Finally, assemble the drawers into the staircase frame.
The seventh step is making your cabinet. Measure the area between the last two vertical supports. This area will serve as the space for your cabinet. Then, cut the plywood using those measurements. These cut wooden pieces should fit the left and right sides, the floor, and the ceiling of your cabinet space. Next, screw these wooden pieces into the vertical support to make the interior of your cabinet.
Eighth, make your cabinet door, which will be attached to the last vertical support. Mark the measurements of your cabinet door on a piece of plywood. These measurements should correspond to the size of the opening between the last two vertical supports. Then, cut along these measurements and sand the edges of the cabinet door. Next, paint and varnish the cabinet door to match the drawers. After letting the paint dry, screw the door hinges along one side of the cabinet door. Lastly, screw these hinges, along with the cabinet door, to the last vertical support.
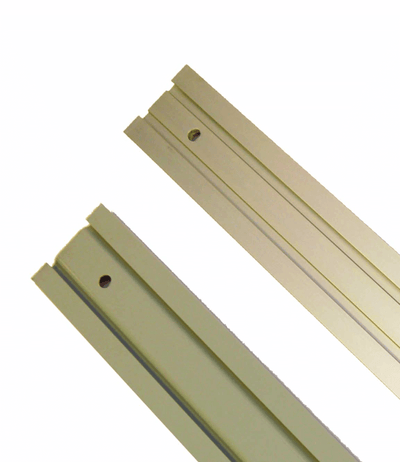
The ninth step is placing your finishing touches. Install the pulls or handles on your drawers and cabinet. Then, screw the stainless steel strips into the nosings or the protruding edges of the steps for safety. Next, cover all of the rough edges of your staircase with plastic angles.
Finally, install the additional components you want your cabinet and drawers to have. For instance, if you need a horizontal beam for hanging your clothes in the cabinet, then, by all means, screw that beam within the cabinet. Also, if you want your storage space to be more organized, you can install partitions in your drawers or mount shelves in your cabinet. With DIY staircase storage, the customization options and modifications are endless.
Common Challenges When Building a Staircase with Storage
A staircase with storage is a great space-saving solution in tiny houses and even in other homes with limited spaces. Designing and building one on your own can save you more money than seeking the help of a construction professional. Also, with a DIY staircase, you can custom-fit your staircase into the space available in your home. Lastly, you can easily customize it to your needs and preferences.
Notwithstanding these advantages, this DIY project still comes with a few challenges. Most projects that involve cutting require accurate measurements. With measuring stairs, however, there’s no room for error. There are so many things to measure, level, and calculate when building a staircase, such as risers, treads, angles, rise, run, number of steps, and many more. “Measure twice, cut once” is a well-known proverb in carpentry, and it especially applies to this staircase storage project.